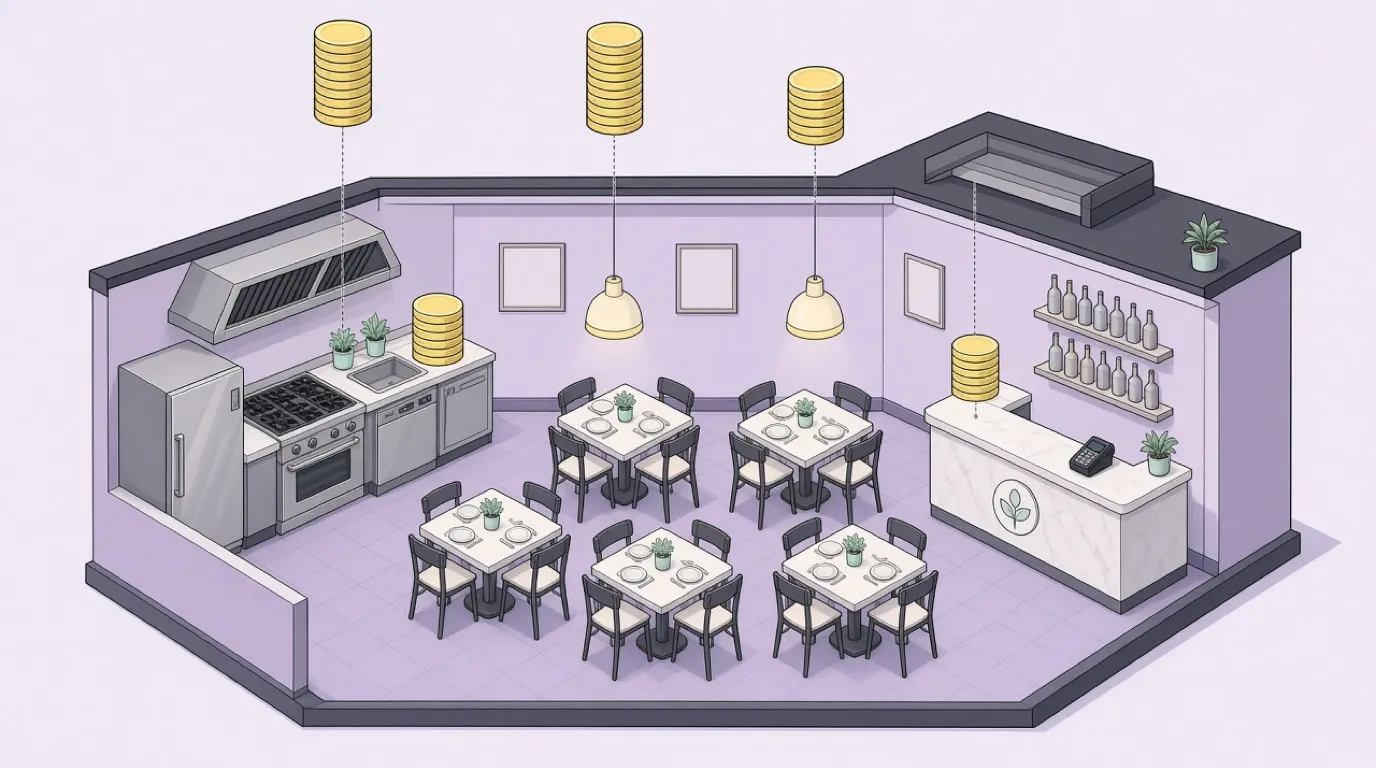
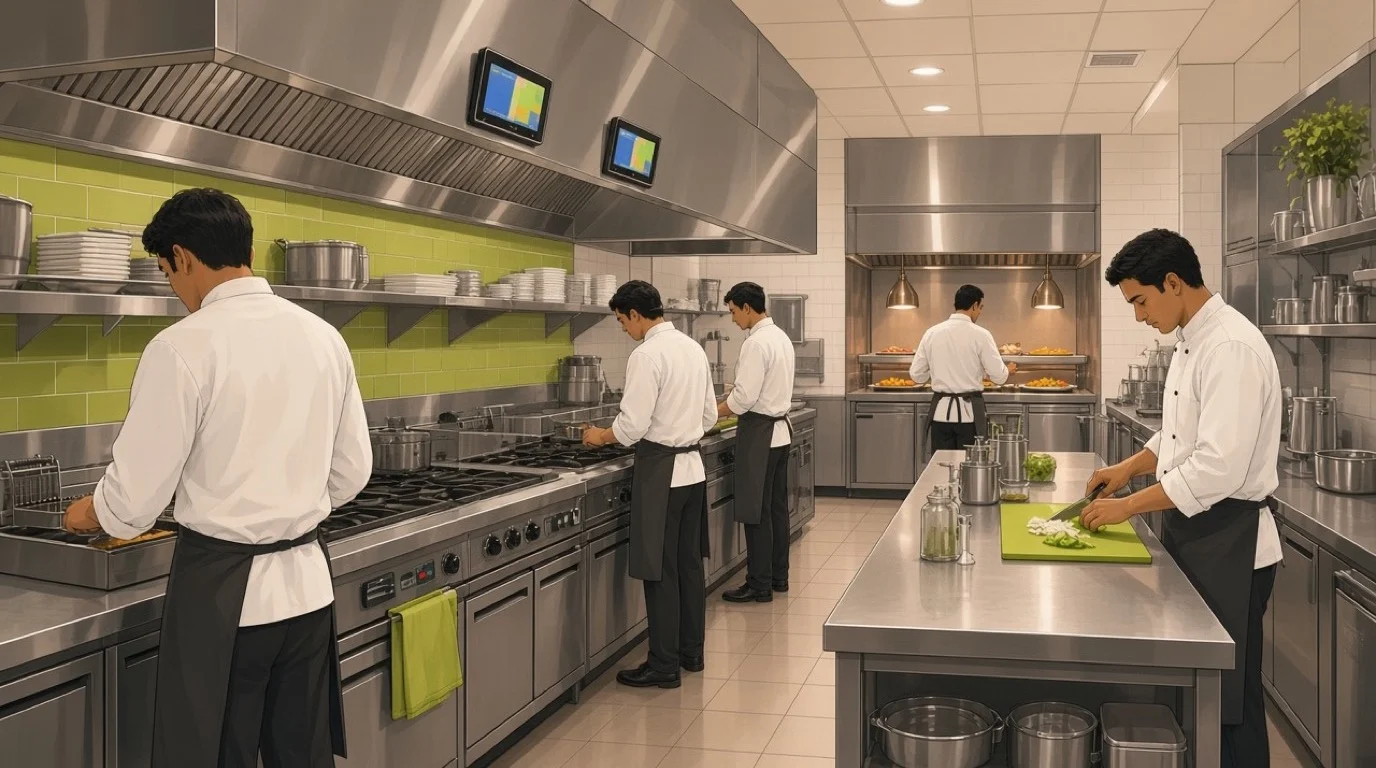
Every plate in a restaurant makes a journey before it reaches the table. The fish comes in the back door, goes into the walk-in, gets portioned on a cutting board, cooked on the line, plated and handed across the pass. A good restaurant kitchen layout makes that journey short and keeps it moving in one direction. A bad one sends cooks across the room for every lemon, puts the dish pit in the path of the servers and turns a Friday into a series of near collisions. Orders make a journey too, from the till to the kitchen display system at each station.
Layout also decides how those orders reach the cooks. Where the tickets from the restaurant POS system print, or where the screens hang, shapes who sees what and when. A station that can't see its own orders waits on the expo to shout them, and a pass that can't see the whole table can't send it out together.
Most kitchens are laid out once, at the build, and lived with for ten years. Moving a wall, a gas line or a hood afterwards costs more than getting it right first. What follows covers the six layouts most restaurants use, the flow every one of them has to respect, how much space and aisle width to plan, where the screens, sinks and drains go, and how to plan your own. Stock matters as much as space, so the storage side ties into restaurant stock management as well.
What is a restaurant kitchen layout?
A restaurant kitchen layout is the arrangement of a kitchen's stations, equipment, storage and walkways, planned so food moves from delivery to the pass in as few steps as possible.
A kitchen layout sets:
- Where each station sits, and which equipment belongs to it
- The path food takes from the back door to the pass
- The path dirty plates take back to the dish pit
- Where cold and dry storage sit, and how close they are to prep
- The width of every aisle, and who has to pass whom
The right layout depends on the menu and the service. A full-service restaurant POS fires courses to several stations at once, so the line has to share a pass. A delivery kitchen sends everything to a packing shelf instead.
In short: a restaurant kitchen layout is where everything goes, decided by the route the food takes.
The flow every kitchen layout has to follow
Whatever the shape of the room, food should move forward through the same stages, and never back:
- Receiving. Deliveries come in a back door close to storage, with space to check them against the order and a scale.
- Storage. Cold rooms, freezers and dry stores, as close to receiving as possible, with raw and ready-to-eat food kept apart.
- Prep. Washing, cutting and portioning, between storage and the line, with separate boards and sinks for raw meat and vegetables.
- Cooking. The line: hot stations under the hood, with cold storage for each station under the counter.
- Plating and the pass. Where the expo checks each plate and sends the table out together.
- Service. Servers collect at the pass and leave toward the dining room.
Dirty plates travel the opposite way, and they need their own route. The dish return should sit by the kitchen door, so servers drop plates on the way in and never cross the pass with them. French kitchens call this principle marche en avant, forward flow: clean and dirty, raw and cooked, never meet on the way. Health inspectors in most countries look for it, whether or not they use the name.
Home kitchens are planned around a work triangle between sink, stove and fridge. Commercial kitchens are planned around this flow instead, because six cooks working at once need stations, not one triangle.
The six restaurant kitchen layouts
Most commercial kitchens are one of six shapes, or a mix of two. The room, the menu and the number of cooks usually decide it for you.
1. Assembly line
Stations in one straight row, from raw ingredients at one end to finished plates at the other. Each cook adds a step and passes the dish along. It's the layout of burger, sandwich, burrito and pizza kitchens, where the menu is short and every item follows the same steps.
Suits: quick service, fast casual, pizza and high-volume menus with few items. Watch out for: one slow station holds up the whole line, and it bends badly around a menu with many different dishes.
2. Zone-style
The kitchen is divided into blocks, each with its own job: prep, hot line, cold kitchen, pastry, dish. Each zone has the equipment and storage it needs, and cooks rarely leave it. Most full-service restaurants with a varied menu end up with some version of this.
Suits: full-service restaurants, hotels and banquet kitchens with many dishes. Watch out for: it needs the most space, and the zones have to meet at a single pass or tables come out in pieces.
3. Island
The cooking equipment sits in a block in the middle of the room under one hood, with prep, storage and dish along the walls around it. Cooks face each other across the island, which makes it easy for the head chef to see and speak to everyone.
Suits: square rooms of medium size and kitchens built around one central chef. Watch out for: an island hood costs more than a wall hood, and in a small room the island squeezes the aisles around it.
4. Galley
Two rows of equipment facing each other along a narrow room, with one aisle between them. It's the classic layout of small restaurants, food trucks and ships' kitchens, where everything has to fit in a corridor.
Suits: narrow rooms, small menus, one to three cooks. Watch out for: the aisle is the only route, so deliveries, cooks and dirty plates all use the same path. Keep it wide enough for two people to pass.
5. Open kitchen
Any of the layouts above, with the line visible from the dining room. Guests watch the food being cooked, and the kitchen becomes part of the room. Wood-fired pizza, grills and counter-seating restaurants use it most.
Suits: restaurants where the cooking is the show. Watch out for: noise, heat and smell reach the dining room, so the hood has to be stronger, and the line has to stay clean and calm all night because everyone can see it.
6. Ergonomic
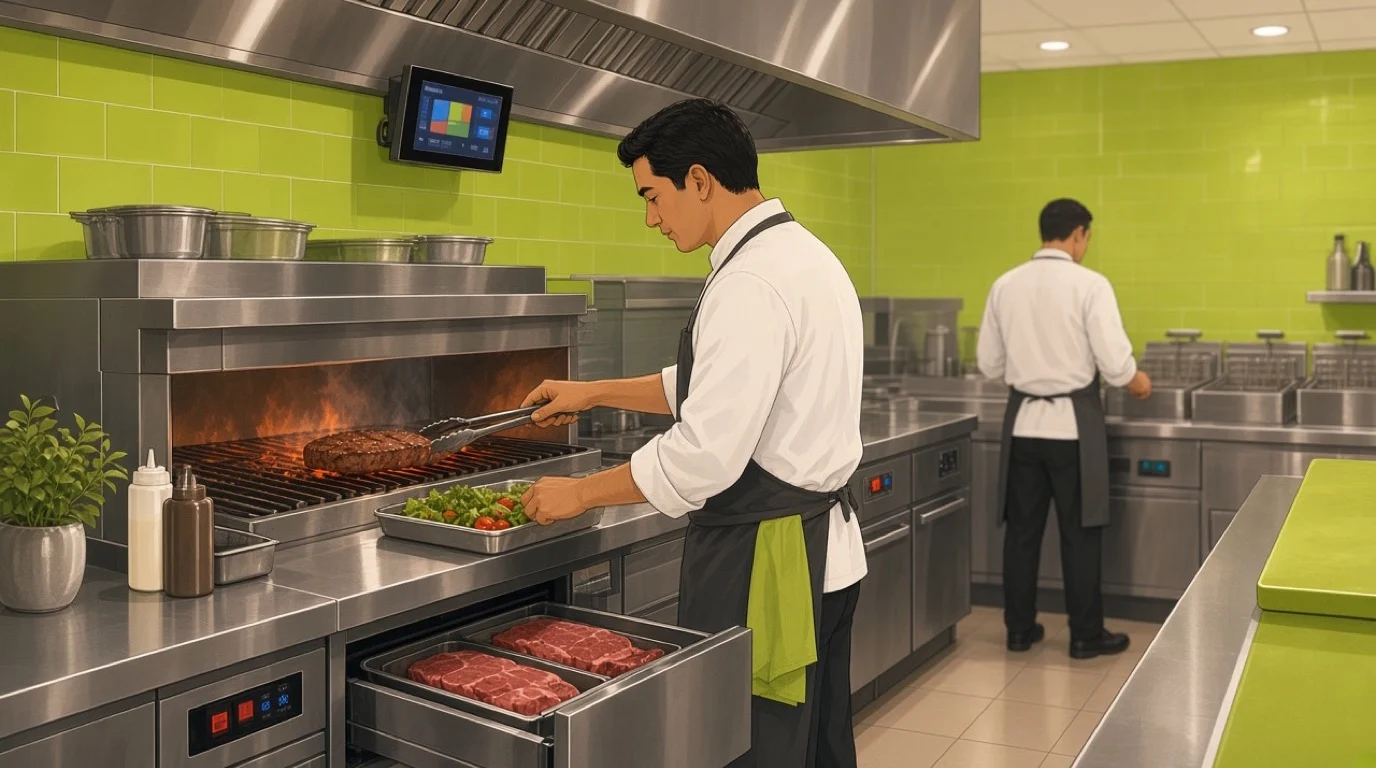
Less a shape than a rule: each station is laid out around the cook standing at it, so everything used during service sits within a step or a reach. Undercounter fridges below the grill, sauces at hand height, plates warming above. It's applied on top of any of the other five.
Suits: every kitchen. Watch out for: it means fixing the menu first, because a station is built around the dishes it cooks.
Which layout suits which restaurant
Full-service restaurants
Zone-style or island, with a hot line, a cold kitchen and pastry meeting at one pass. Courses go out in waves, so every station has to see when a table is fired and the pass has to see the whole table at once.
Quick service and fast casual
An assembly line, sometimes two side by side. The order taken at the counter should reach the first station before the guest has paid, and the last station should hand the bag or tray straight to the pickup point.
Pizza
An assembly line ending at the oven: dough, sauce, toppings, oven, cutting and boxing. The oven sets the pace, so the toppings station should sit right in front of it, and the boxing table should sit on the side toward the door.
Cafés and bakeries
A small kitchen behind a large counter. The coffee machine, display and till are the line, and the kitchen is mainly prep and baking. Keep the baking ovens away from the counter, so the heat and the flour stay out of the guests' way.
Delivery and ghost kitchens
An assembly line with a packing station at the end and a pickup shelf by the door, so drivers never walk into the kitchen. A takeaway POS system that sends every order, from every app, to the same screens keeps the line working from one queue.
Food trucks
A galley in a few square metres, built around a short menu. Every item has a fixed place, and the service window sits next to the last station so food goes straight out. The food truck POS usually runs on a single tablet, and its orders go to one screen or one printer.
Hotels
Zone-style, usually with a separate banquet kitchen or a banquet zone, room service with its own trolley route, and breakfast prep that runs while the dinner kitchen is cleaned. The routes for room service and banquets should avoid the restaurant pass.
How much space a restaurant kitchen needs
There's no fixed rule, but many designers start a full-service kitchen at around 0.5 to 0.7 square metres per dining seat (about 5 to 7.5 square feet), less for a short menu or a delivery kitchen with no dining room to serve. For a 70-seat restaurant, that's roughly 35 to 49 square metres of kitchen, or 377 to 527 square feet, including storage and the dish area. Another common rule of thumb puts the kitchen and storage at about a third of the whole floor area.
The menu matters more than either figure. A restaurant that bakes its own bread, butchers whole animals or runs a big brunch needs more prep space. One that buys in desserts and bread needs less. Start from the dishes and the equipment they need, then check the total against the rule of thumb, not the other way round.
Aisles are where most kitchens go wrong:
- One person working: about 90 cm (36 inches) between counters.
- Two people passing, or one passing behind a cook: about 105 to 120 cm (42 to 48 inches).
- Main routes with trolleys or deliveries: wider again, and wide enough for the largest trolley you use.
Too narrow and cooks bump each other carrying hot pans. Too wide and every step to the counter behind them becomes two. These are common starting points; your local building and health rules may set their own minimums.
What a layout costs in steps: a worked example
The grill cook at a busy restaurant sends out 180 plates on a Saturday. The steaks are kept in the walk-in, a 14-metre round trip from the grill, and the cook goes to restock every 6 plates.
- Trips per service: 180 plates / 6 = 30 trips
- Time per trip: about 32 seconds walking at 1.2 metres a second plus 20 seconds at the shelf
- Time away from the grill: about 16 minutes a night, and 420 metres walked
- Over 6 services a week for 50 weeks: about 79 hours a year
Those minutes don't come one at a time when it's quiet. They come at 8:30 pm, when the grill is full and the tickets are stacking up. An undercounter fridge below the grill, restocked from the walk-in before service and once at the turn, removes nearly all of them. The same sum applies to plates kept on the wrong side of the room, a garnish station across the aisle, or a dish pit in the servers' path.
Multiply it by every cook on the line and the layout is worth more than any single piece of equipment you'll buy. Our commercial kitchen equipment list covers what to buy for each station.
Where the screens, printers and pass should go
Orders are part of the layout. Once you know where each station is, decide how its orders reach it.
- One screen or printer per station. Each cook sees only their own items. A grill screen above the grill, a fryer screen above the fryers, a cold-kitchen screen above the cold kitchen.
- An expo screen at the pass. It shows the whole table, item by item, as each station finishes, so the expo knows when to call it.
- At eye level, out of the heat and grease. Not directly above the fryer, not where steam hits the screen, and not where a cook has to turn round to read it.
- A screen at the packing station. Delivery and takeaway orders need their own view, with the pickup time, the bag and the driver.
Paper tickets need the same thinking: a printer per station, out of the splash zone, with a rail where the cook can see it. Our article on the KDS vs kitchen printer covers which suits which kitchen, and the kitchen display system guide covers mounting, heat and what happens when the network drops.
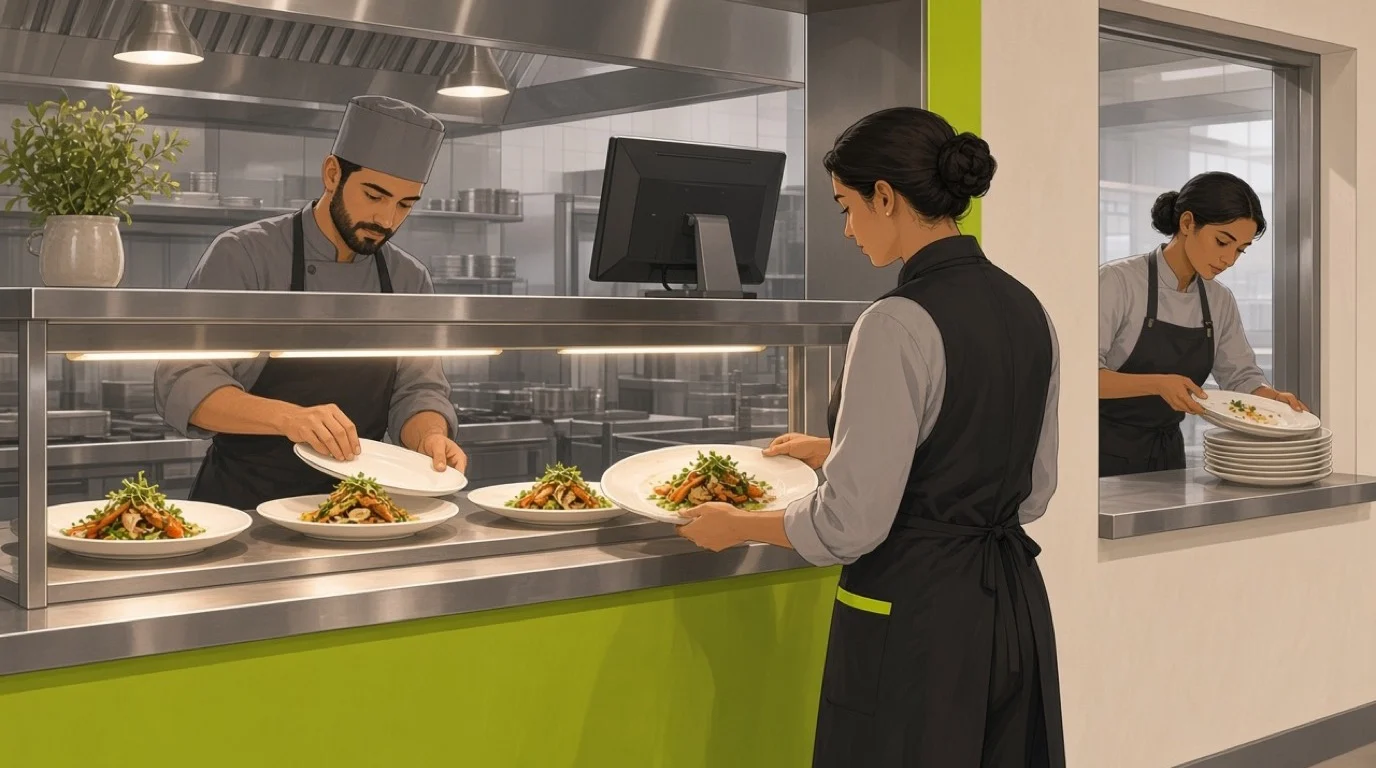
The pass itself needs space to hold a full table of plates under heat lamps, a clear view of the expo screen, and a route for servers that doesn't cross the line. If servers have to walk into the kitchen to collect, the pass is in the wrong place.
Ventilation, sinks, drains and the inspector
Some parts of a kitchen layout are set by law rather than by preference, and they're the most expensive to move later:
- The hood. Every piece of cooking equipment that makes grease or smoke goes under it, and the hood usually extends past the equipment, often by about 15 cm (6 inches) on each side. Fire suppression goes with it. Plan the line around the hood, because moving it means moving ducts through the building.
- Handwash sinks. Separate from prep and dish sinks, and within easy reach of every station. Many health authorities set a maximum distance, so check yours.
- Prep and dish sinks. Separate sinks for washing food and washing equipment, and in many places a sink with several compartments for washing, rinsing and sanitizing by hand.
- Floor drains and floors. Drains under the dish area and the cooking line, floors that are non-slip and easy to clean, and coving where the floor meets the wall.
- Grease traps, gas and power. Where the gas line, the three-phase power and the grease trap can run sets where the heavy equipment can go.
Health inspectors look at the flow as well as the equipment: whether raw and cooked food are kept apart, where waste leaves, and whether staff can wash their hands without crossing the room. Our article on restaurant food safety covers the rules, and the one on licenses and permits covers the approvals you'll need before you build.
How to plan a restaurant kitchen layout
- Fix the menu first. List every dish and the equipment and steps it needs. The menu decides the stations, not the other way round.
- Count the covers. Estimate plates per hour at the busiest time, by station. That tells you how many cooks and how much equipment each station needs.
- Draw the flow. Mark the back door, the dining room door and the route food takes between them. Then mark the dirty route back.
- Place the fixed points. Hood, gas, drains, power and the grease trap. These are expensive to move, so everything else fits around them.
- Choose the layout. Assembly line, zone, island or galley, depending on the room and the menu, with ergonomic stations within it.
- Size the aisles. Check every aisle against who uses it during the busiest hour.
- Plan the orders. Decide where screens or printers sit at each station, at the pass and at the packing shelf.
- Walk it through. Take a busy Saturday ticket by ticket and trace every cook's steps on the plan. Then do the same for a delivery, the dish pit and the closing clean.
- Get it checked. Have a kitchen designer and the local authority review the plan before anything is built.
The dining room has its own plan, and the two have to meet at the right door. Our article on restaurant floor plans covers the dining side, and the one on restaurant startup costs shows what the build usually costs.
Kitchen layout mistakes that cost restaurants money
- Planning the room before the menu. The stations end up fitting the walls, not the dishes.
- Storage at the far end. Every restock becomes a walk, at the worst time of the night.
- Clean and dirty routes crossing. Servers carrying dirty plates through the pass slow service and fail inspections.
- A hood that's too short. Adding equipment later means extending the hood, which is one of the most expensive changes in a kitchen.
- Aisles nobody measured. Cooks collide, or walk twice as far as they need to.
- Tickets nobody can see. A single printer by the door, or a screen above the fryer, makes the expo the only person who knows what's going on.
- No space for delivery. Drivers end up waiting at the pass, and bags get packed on the line.
Where Tableview fits, and where it does not
Tableview doesn't draw kitchens, but it decides how orders move through one. Orders appear on the kitchen screens the moment they're placed, routed by station, so the grill sees only grill items and the fryer only fryer items. Courses can be fired in sequence, the expo view shows the whole table as each station bumps its items, and allergen and dietary notes appear on every ticket. You can set up as many stations as the layout has, with a timer for each one.
The screens also show whether the layout works. Average ticket times by station and by hour show where the line slows down, and bottleneck alerts flag the station that holds up the rest. On the storage side, stock is deducted with every sale, par levels trigger low-stock alerts and purchase orders take one click, so the undercounter fridges and the walk-in stay stocked. The kitchen display system is part of the Pro plan at 189 dollars a month, and new customers get the first three months free.
The General Manager of A.Z Sunrise Resort & Fitness Club, which runs a restaurant and a beach bar, put it this way: "Having a restaurant and a beach bar, we didn't know how to synchronize inventory and sales. Tableview solved this with an easy and fast implementation. We were up and running in less than a week."
Where it's not the right choice:
- Designing the kitchen itself. Tableview has no floor-planning or design tool. Use a kitchen designer for the plan, and the local authority for approval.
- Hoods, gas and power. These need licensed contractors and local approval, whatever software runs the orders.
- A kitchen that only needs paper tickets. A small kitchen with one cook and one printer may not need screens at all.
Key takeaways
- A restaurant kitchen layout arranges stations, equipment, storage and walkways around the route food takes.
- Food moves forward from receiving to storage, prep, cooking and the pass, and dirty plates return by their own route.
- The six common layouts are assembly line, zone-style, island, galley, open kitchen and ergonomic.
- Start from the menu and the covers, then fix the hood, gas and drains before anything else.
- Plan where each station's orders appear, as carefully as where its equipment goes.
- Walk a busy service through the plan, ticket by ticket, before you build.
Read next: the kitchen hierarchy for who works at each station, mise en place for setting a station up before service, and ghost kitchens for delivery-only layouts.